How to make your own USB cable

Step 1 - Tools

To create your own custom usb cable, you will need the following tools:
Step 2 - Preparation

To create your own custom USB cable, you will need the following items:
- 1x Cable from Amazon or Monoprice (part #31195)
- 1x Molex Connector (part #0355070400)
- 4x Molex Connector pins (part #0502128000)
- 1x Heat shrink tube (30mm in length)
Step 3 - Tape up
Grab the wire and put a piece of electrical or kapton tape 1 inch (30mm) below where you will cut off the cable.
Step 4 - Cut stem
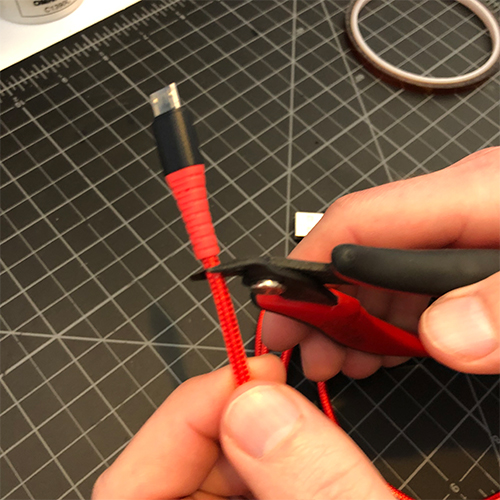
Grab the wire and remove the USB-C or micro-USB end using a wire cutter. Cut at the stem.
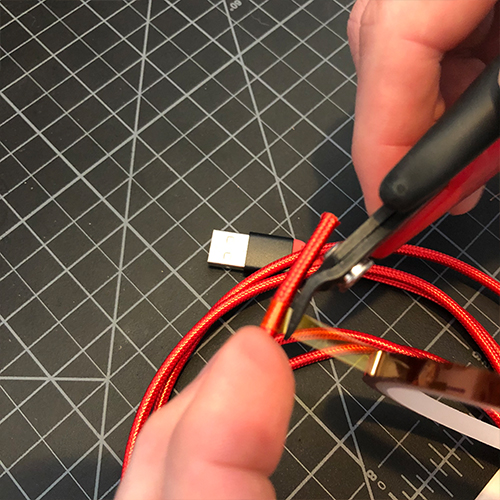
Step 5 - Remove nylon
Cut off the nylon covering with a hot tweezer or cutters right above the tape.
Step 6 - Remove sheath
Remove the thermoplastic sheath with cutters and your hand.
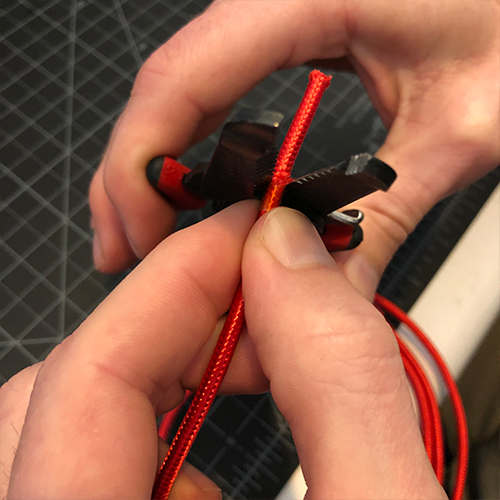
Step 7 - Remove shield

Remove the shield braid with a cutter.
Step 8 - Remove foil
Remove the foil covering with your hands.
Step 9 - Remove kevlar
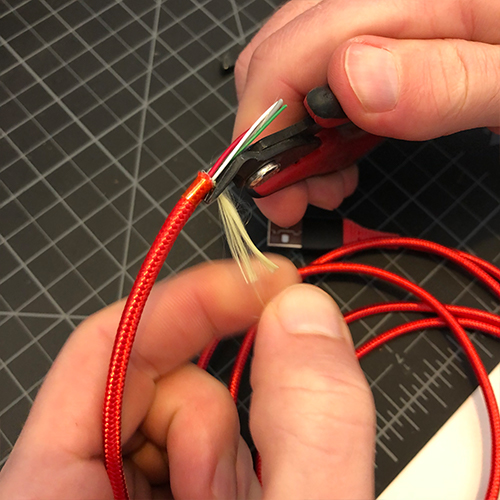
Remove the Kevlar strands.
Step 10 - Cut wires

Cut the 4 wires to a length of 25mm.
Step 11 - Get connectors
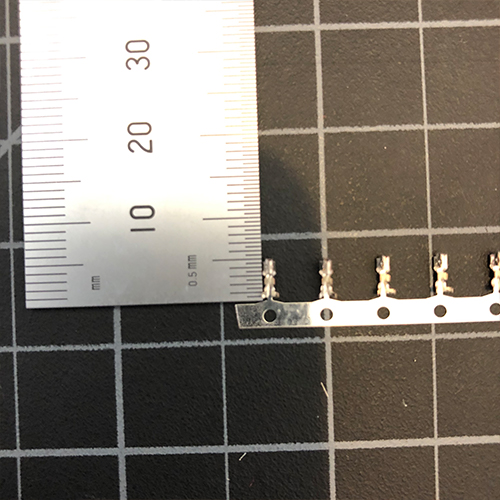
Get the connectors and crimps out of their package.
Step 12 - Add heat shrink
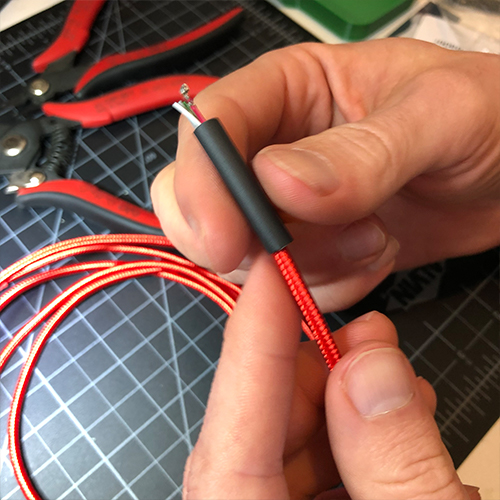
Slide the heat shrink into the wire.
Step 13 - Ready wires
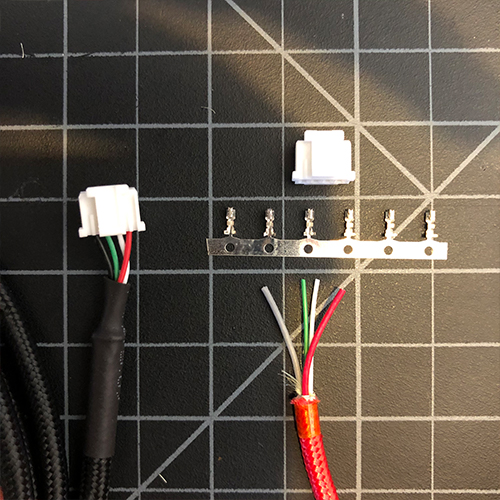
Get the 4 wires ready according to their final location on the connector.
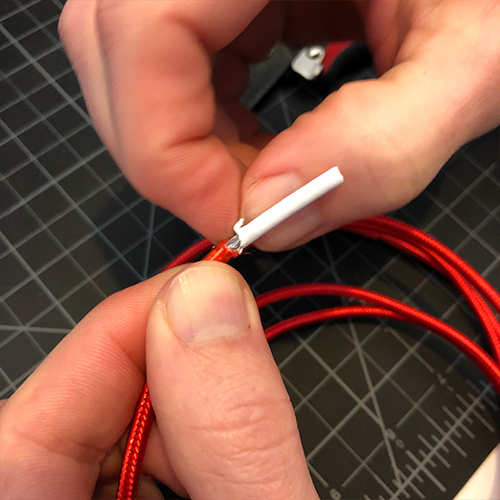
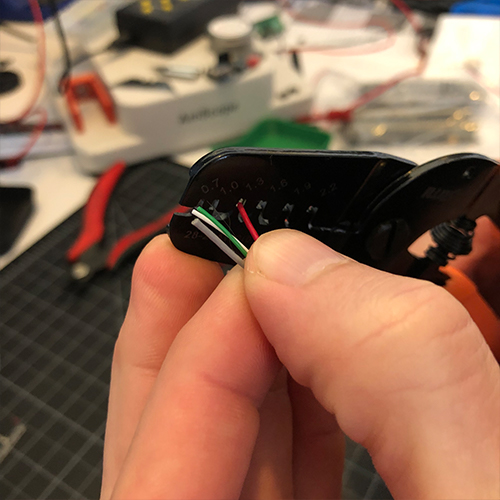
Step 14 - Strip wires
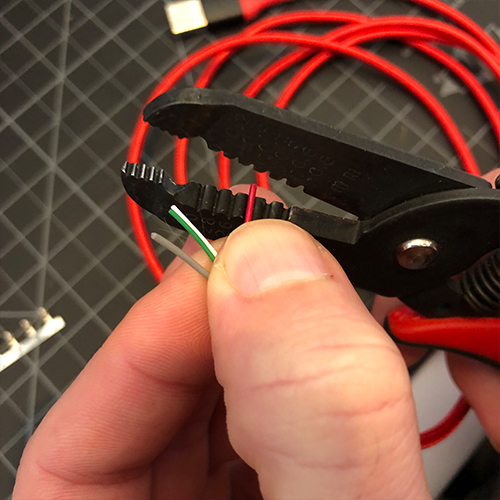
Strip the 4 wires to leave 2mm exposed.
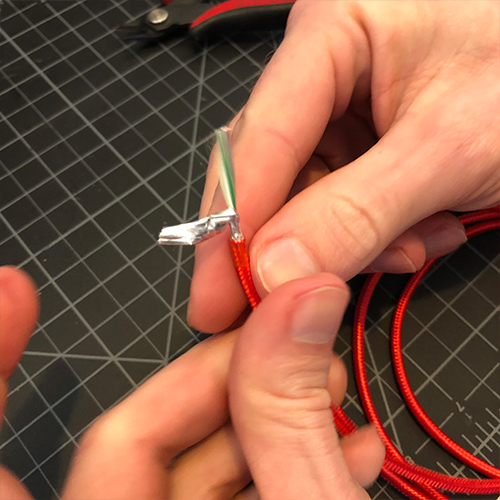
Step 15 - Crimp pins
Grab the Molex connector pins and crimp the 4 wires to the connector.
Step 16 - Inspect
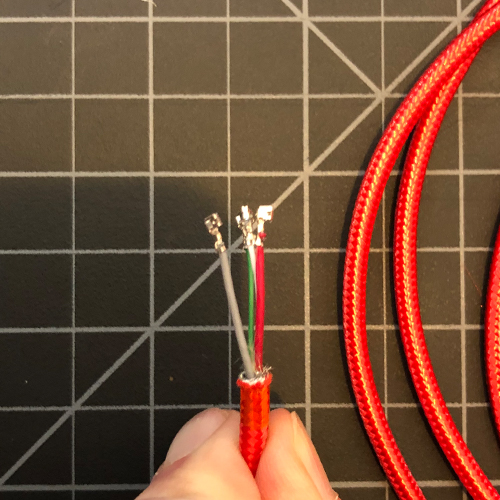
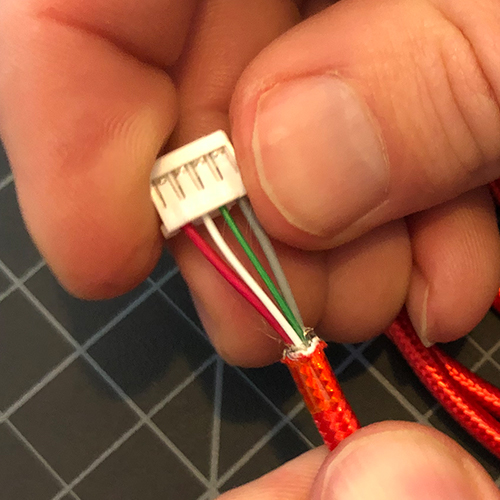
Inspect the results to make sure that all 4 wires are crimped correctly.
Step 17 - Plug it
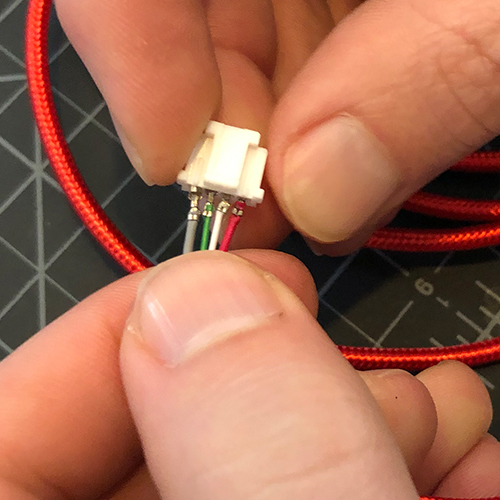
Plug in the 4 crimped wires into the Molex connector.
Step 18 - Inspect it
Inspect the results to make sure that it is assembled correctly.
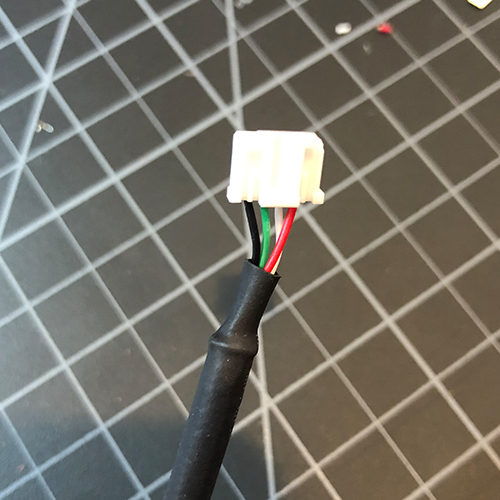
Step 19 - Shrink it
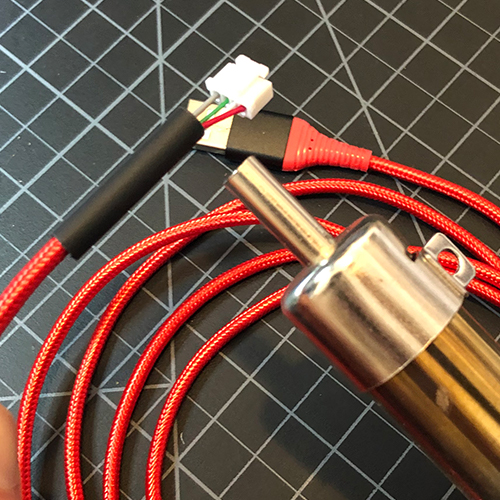
Use a hot air dryer or heat gun to shrink the heat wrap.
Step 20 - Done
Congratulations, your cable is finished!